
Customization Tips for Big E-Z Accounting – Online Version
Learn how to customize your Big E-Z Accounting with Google Sheets software
Add and Delete Categories
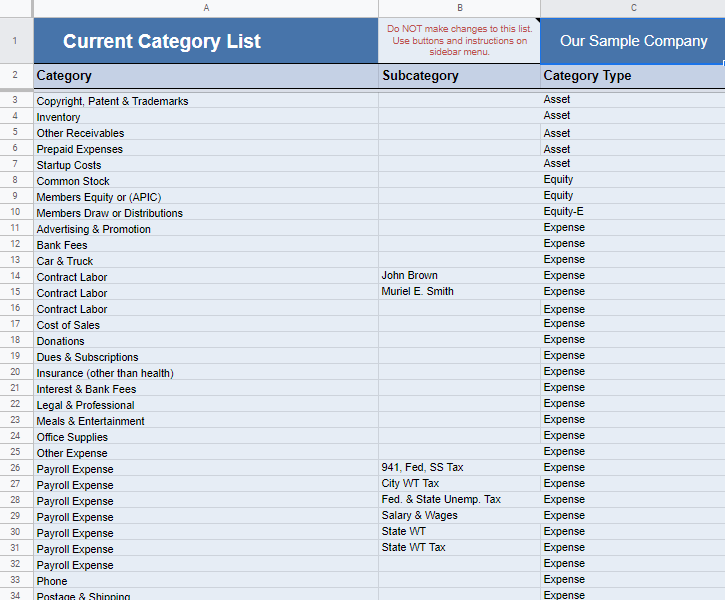
Use the Add and Delete buttons on the sidebar Action Menu (see below) to customize your Categories to fit your needs. You have the ability to set up Subcategories for more detailed recordkeeping by once again clicking on the Add button then entering the Subcategory and choosing the Category that it falls under.
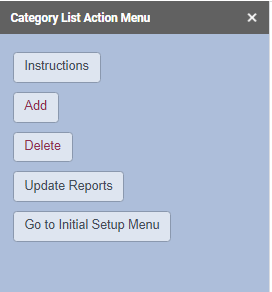
Click Update Reports from the sidebar when finished adding to and deleting from the Category List.
Add, Change, or Delete Accounts
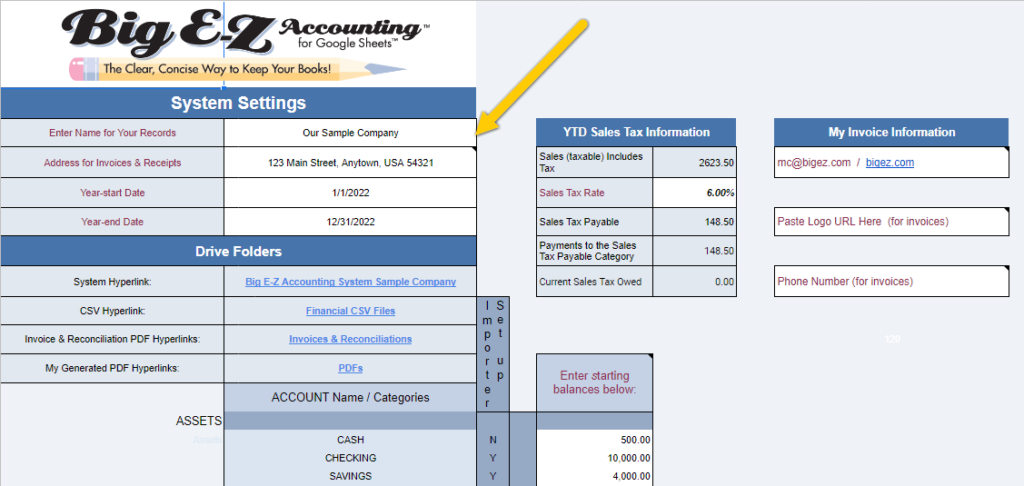
Add Your Logo to Your Invoices
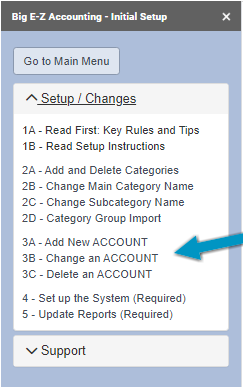
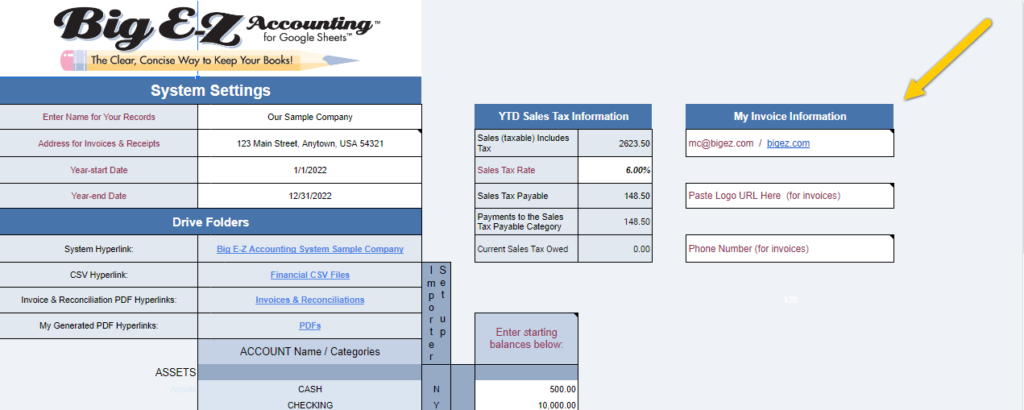
To add a logo to your invoices click Initial Setup Menu > Setup / Changes > Step 4 and paste your logo URL in cell H6 on Settings.
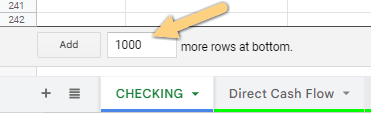
Add Rows
You can add rows to any sheet by scrolling down to the Add box below the last blank row. Do not use the Add default button until you change the quantity to no more than 100 rows.
Add Your Own Sheets to My Sheets
To add your own report click + in the lower left corner of your screen.

Right-click on the tab to rename it. It will now show up in My Sheets / My PDFs from the Main Menu.
Warning: Do NOT rename or delete any Big E-Z system tabs other than your own sheet tabs.
To import an existing sheet you created in another file, Right-click on that tab > Copy to > Existing Spreadsheet > locate and click on Big E-Z Accounting in Google Drive.
This is recommended for advanced users of Google Sheets only.
Note: Any sheets you add to the system are not included in Big E-Z customer support.
Adjust Column Width and Row Height
Change Your Entity Name on Reports
Click Initial Setup Menu > Setup / Changes > Step 4 and update cell B3 to change entity name on your reports.
Change Screen Display
Create a Filter to Sort Data
To sort data on histories and lists, click header row 2 > Data > Create Filter. You will see dropdown arrows in each column and can sort by clicking the filter symbol and sorting.

To remove the filter, click > Data > Remove filter.
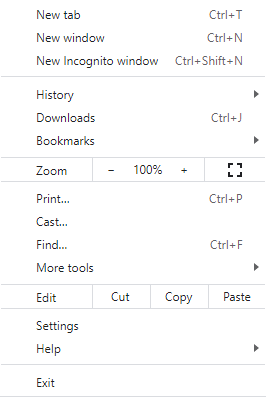
Create a Shortcut on Your Desktop
Here’s how you can create a shortcut to access your sheet from your desktop instead of having to open a Google Sheet.
Go to a blank tab in your Google browser, click the waffle pattern in the upper right corner > Drive > search for Big E-Z Accounting > double-click your file name to open > copy the link from the address bar.
Now go to your desktop and right-click anywhere > New > Shortcut > then paste the link where it says: Type the location of the item > Next > Type a name for the shortcut > Finish.