
How to Enter Transactions into the Big E-Z Books Desktop Version
Everyone enters data differently. You may be the type that enters your data once a day, once a month, or once a year. To operate in real time you will want to enter transactions on a daily basis, in which case you would follow the manual instructions below. If you want to catch up on records for the year, you will want to follow the importing instructions below.
Big E-Z Books Desktop Version has three main accounting ledger sheets to enter your transactions into.
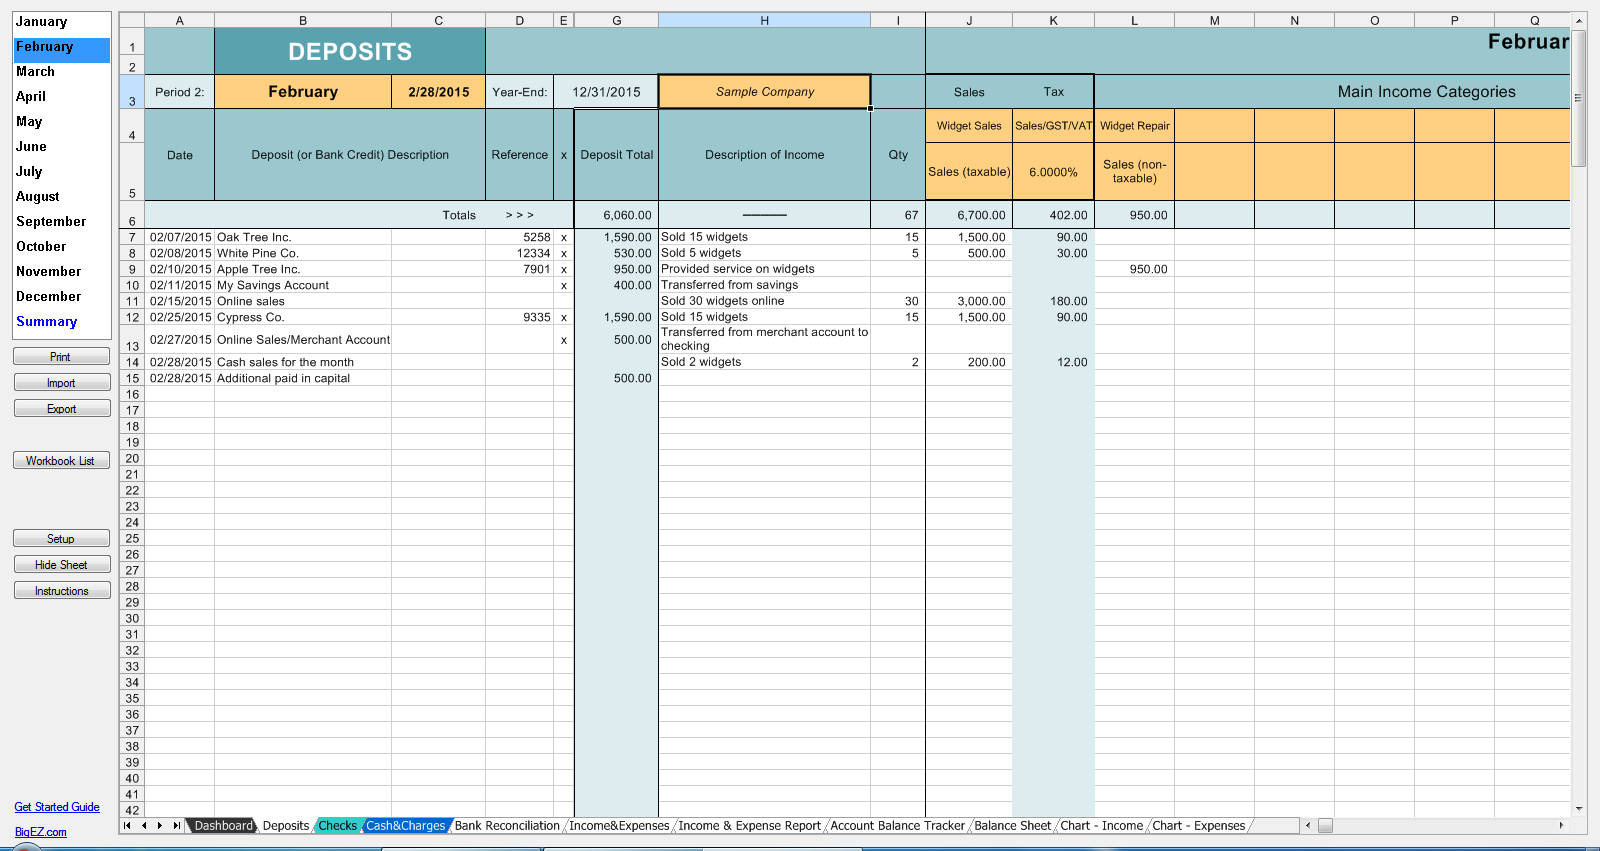
The Deposits Ledger Sheet
The Deposits ledger sheet for all your income includes deposits and transfers into your checking account.
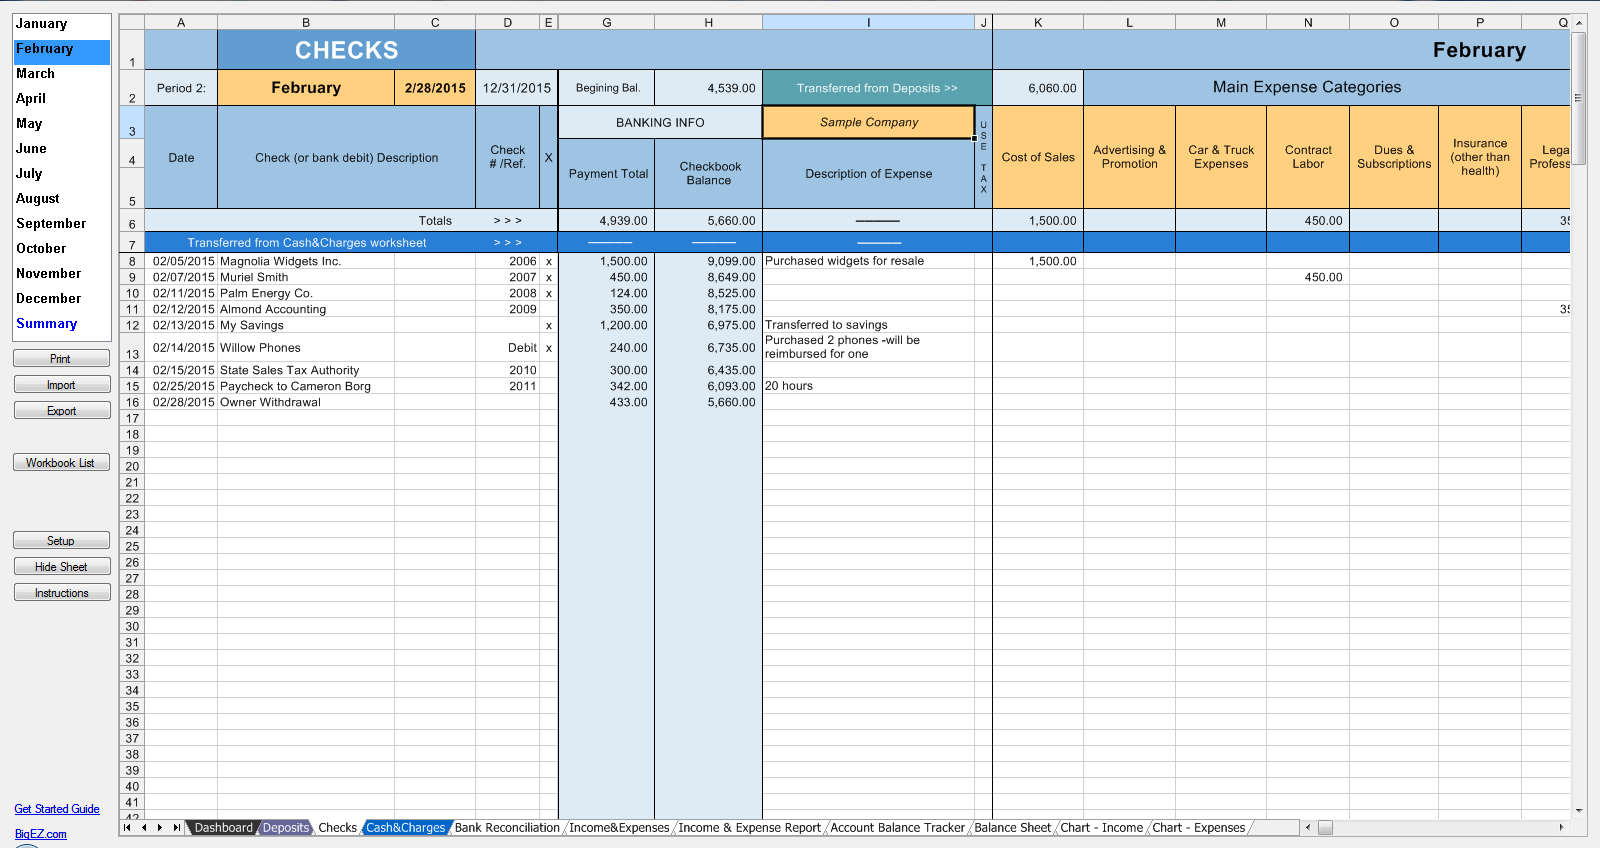
The Checks Ledger Sheet
The Checks ledger sheet for all your expenses includes checks, debits, withdrawals, and transfers out of your checking account.
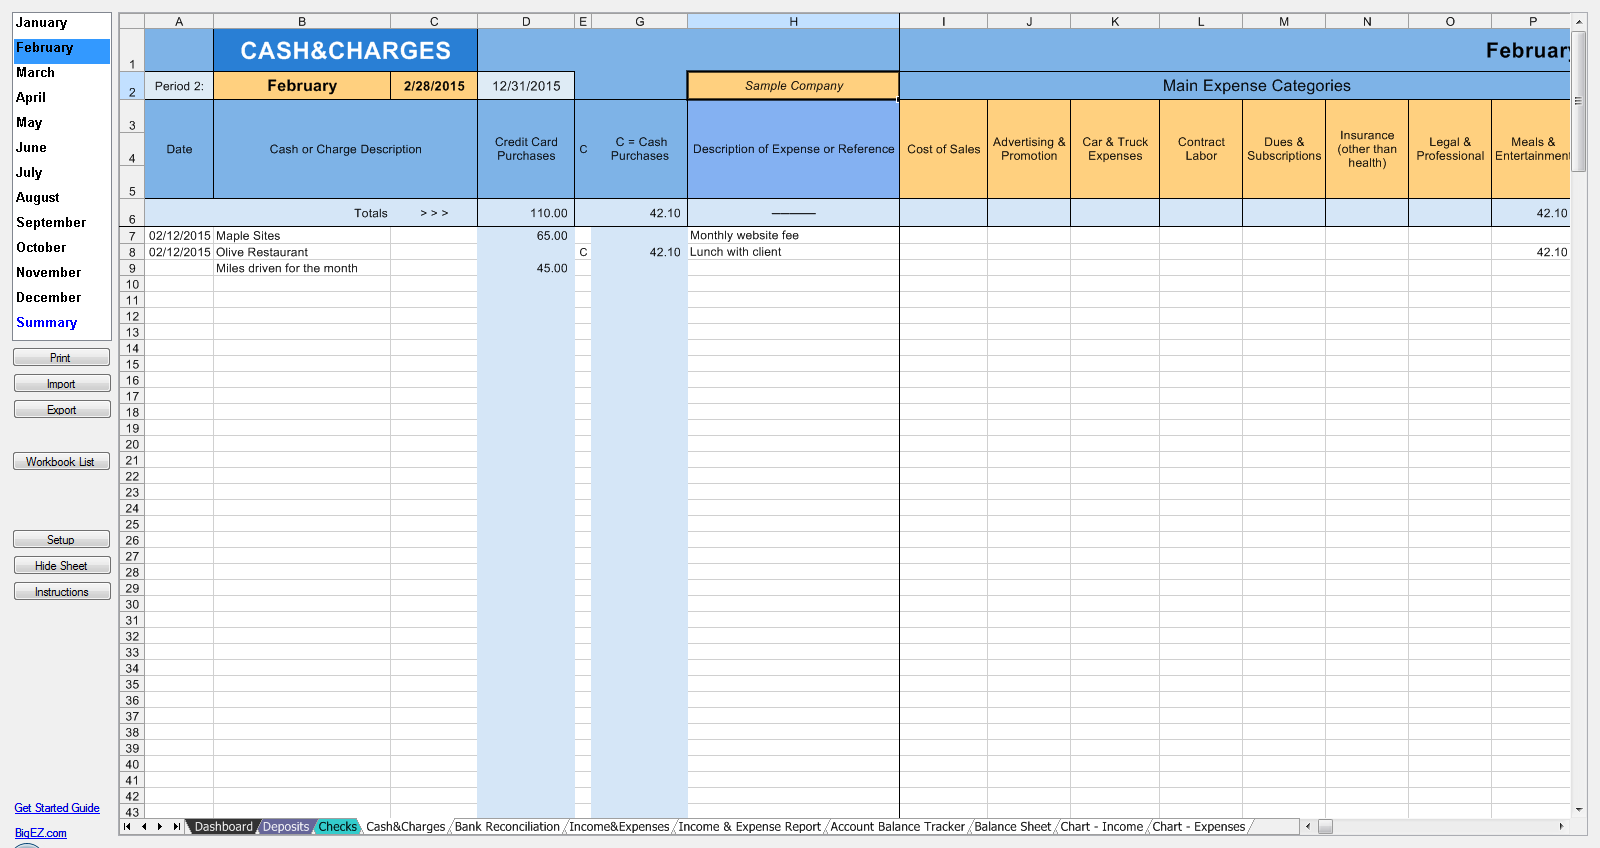
The Cash&Charges Ledger Sheet
The Cash&Charges ledger sheet is for anything that did not go through the checkbook, such as items put on credit cards, cash expenditures, and mileage.
Enter Transactions Manually
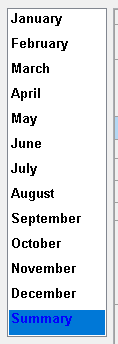
Step 1. Choose a month from the left menu.
Then click Deposits from the lower left menu.

Now enter four things, all on the same row:
- Date
- Name or description
- Reference number
- The amount you are depositing by placing the amount of income under an income column heading
Repeat this for each deposit you make or any amounts of money transferred into your checking account.
Step 2. Click Checks from the lower left menu and enter four things, all on the same row:
- Date
- Name or description
- The reference number or check number
- Amount of the check by placing the amount in an expense column
Do this for all checks written, bank debits, cash withdrawals, transfers to other accounts, and expenditures using PayPal or other merchant accounts, etc.
Step 3. Click Cash&Charges from the lower left menu to enter non-checkbook expenditures like things you paid cash for or any credit card expenditures and mileage.
Importing Transactions
Step 1. Go online to get your bank account history. Download transactions in CSV format. If CSV is not available then choose the Excel format. Open the file and sort it in date order from oldest to newest. Remove any unnecessary words from your descriptions. Once you have your data the way you like it, save the CSV file.
Step 2. When you are ready, click Import on the left menu.
Step 3. Browse over to your CSV file and click Open. A screen like this will open:
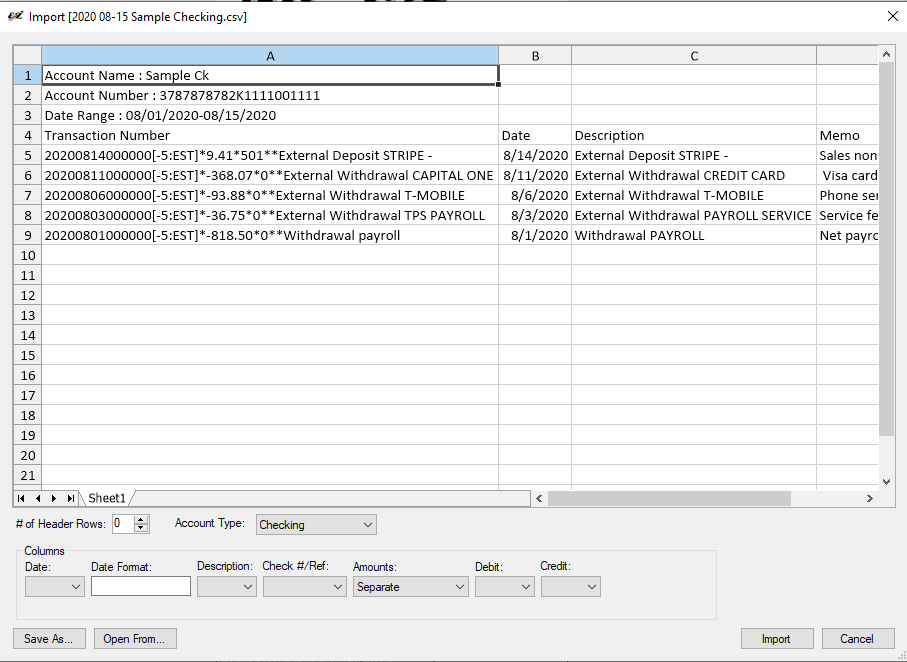
- Choose the number of header rows on your file. Header rows are the rows above the first row of your transactions. In the example, above there are four header rows.
- Choose Checking from the drop-down menu for Account Type.
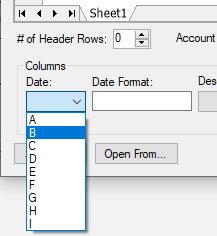
- Instruct the importer which columns to use for your data. In this example, we will import checking account transactions. Column B has dates listed so select column B in the drop-down for Date and so on.
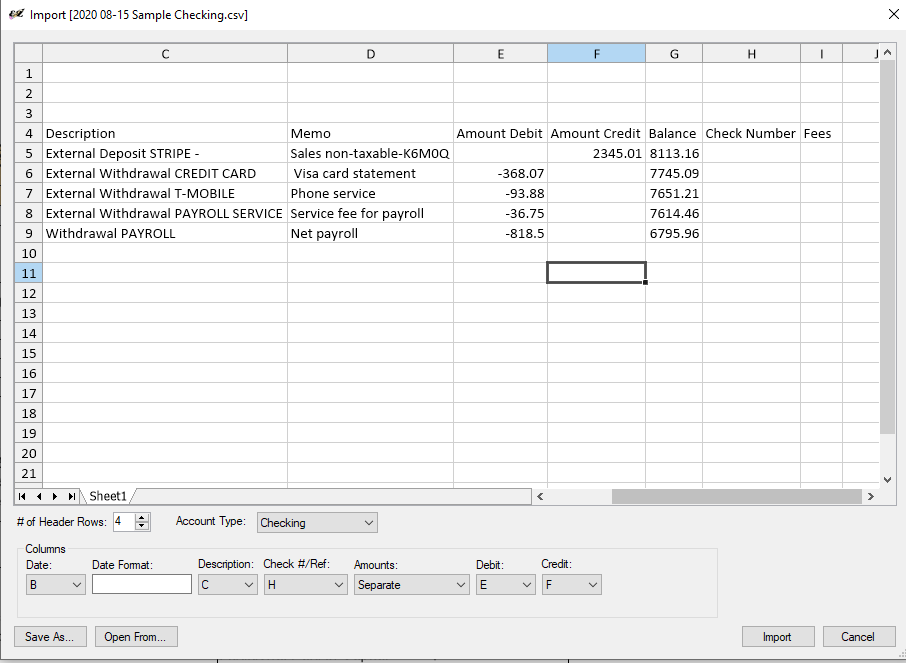
The Description column in the above example is column C.
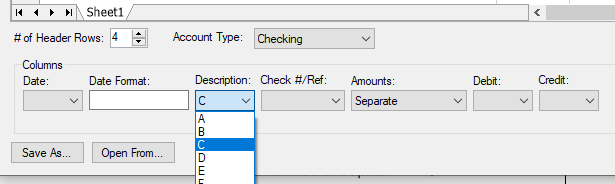
Make sure the data in the Description column is how you want it (sometimes banks have a very long description that are unnecessary so you may want to change it before importing) then click Import.
In the Amounts drop-down menu, choose Separate if your Debits and Credits are in separate columns like the example above. If the amounts for your debits and credits are in the same column and the debits are negative amounts, choose Debits<0 otherwise.If your CSV file has all twelve months of data, the importer will import all twelve months and you will see all the entries as you open each month.
Step 4. Click Deposits and categorize your entries for both Main Income Categories and Subcategorized Income.
Step 5. Click Checks and categorize your entries for both Main Expense Categories and Subcategories.
Repeat this process to import credit card transactions, then click Cash&Charges (which records all your non-checkbook expenditures) and categorize your entries. You’ll notice any payments to credit card companies will be listed in Checks with the amount of your payment listed under column AN. You will have to enter your cash transactions manually.